
The other day, I got a message from one of my friends asking to purchase Girl Scout cookies from her niece. Well, I am totally down for a good Thin Mint, Trefoil, or Samoa! However, have you looked at the prices of those small boxes lately...they are almost $5 a box! How crazy is that?!? I remember when I sold them and they were just $2! Looking at the website, I suddenly got this huge craving for Samoas! They are just so gooey and delicious! I mean, you get a box, put a few in the microwave, cook them for 15-seconds and place them on top of vanilla ice cream and boom! - The most awesome dessert ever! So, Marc looked up online and found a Paleo/Marc friendly version for the cookies! So of course we had to try them out. They are from a recipe from Elana's Pantry - a food blog site that specializes in specific dietary lifestyles. If you want to check out the recipe, here it is - found here. I do not have images of the entire process, but it was broken up into 4-5 parts.
Part 1 - Making the dough (use a food processor or hand mixer - the dough does clump into a ball, but it is really, really gooey!) Then let refrigerate for 30-minutes. We recommend maybe a little more to let it firm up.
 Part 2 - Preparing the Cookies - Roll the dough in between two sheets of parchment paper. For cutting them out, we used a glass jar rim and when cutting the cookies, spin the glass to make a clean cut. For the smaller hole, we used a clean opening of a beer bottle! Haha! It was the perfect size and proportion to our circle cookies. The parchment paper was a great way to flip the soft, gooey rolled out and cookie cut cookie into our hands and then flip onto the baking sheet.
Part 3 - Baking the cookies & melting the chocolate - we recommend 6-7 minutes, or until the cookies are golden brown. Making the chocolate (prepare with a double boiler!) Marc used his own little recipe for the chocolate, and then when the cookies were cool. We used a wide fork to set the cookie on to dip the bottom of each cookie. Place back down on the parchment for easy removal and clean up.
Part 4 - Toasting the Shredded Coconut & Making the Caramel - we used honey instead of the Coconut Nectar since we could not find it. It still came out great!
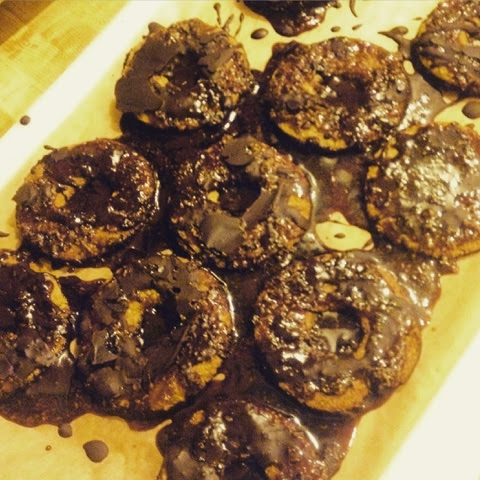
Part 5 - Drizzle the Caramel & Chocolate - Drizzle the caramel over the cookies and the melted chocolate over the cookies until completely covered!
Sadly there is a part 6 - Letting it all cool and set! - We had no room in the fridge to cool the cookies and let the chocolate harden, so....since we live in WY and it is super cold out, we placed the cookies outside (just covered them with aluminum foil). They were cool and hard in about 15-minutes! Let me say, they taste awesome!!!!!! We definitely recommend you try them for yourselves!
Enjoy!
TheChristyBel
No comments:
Post a Comment